
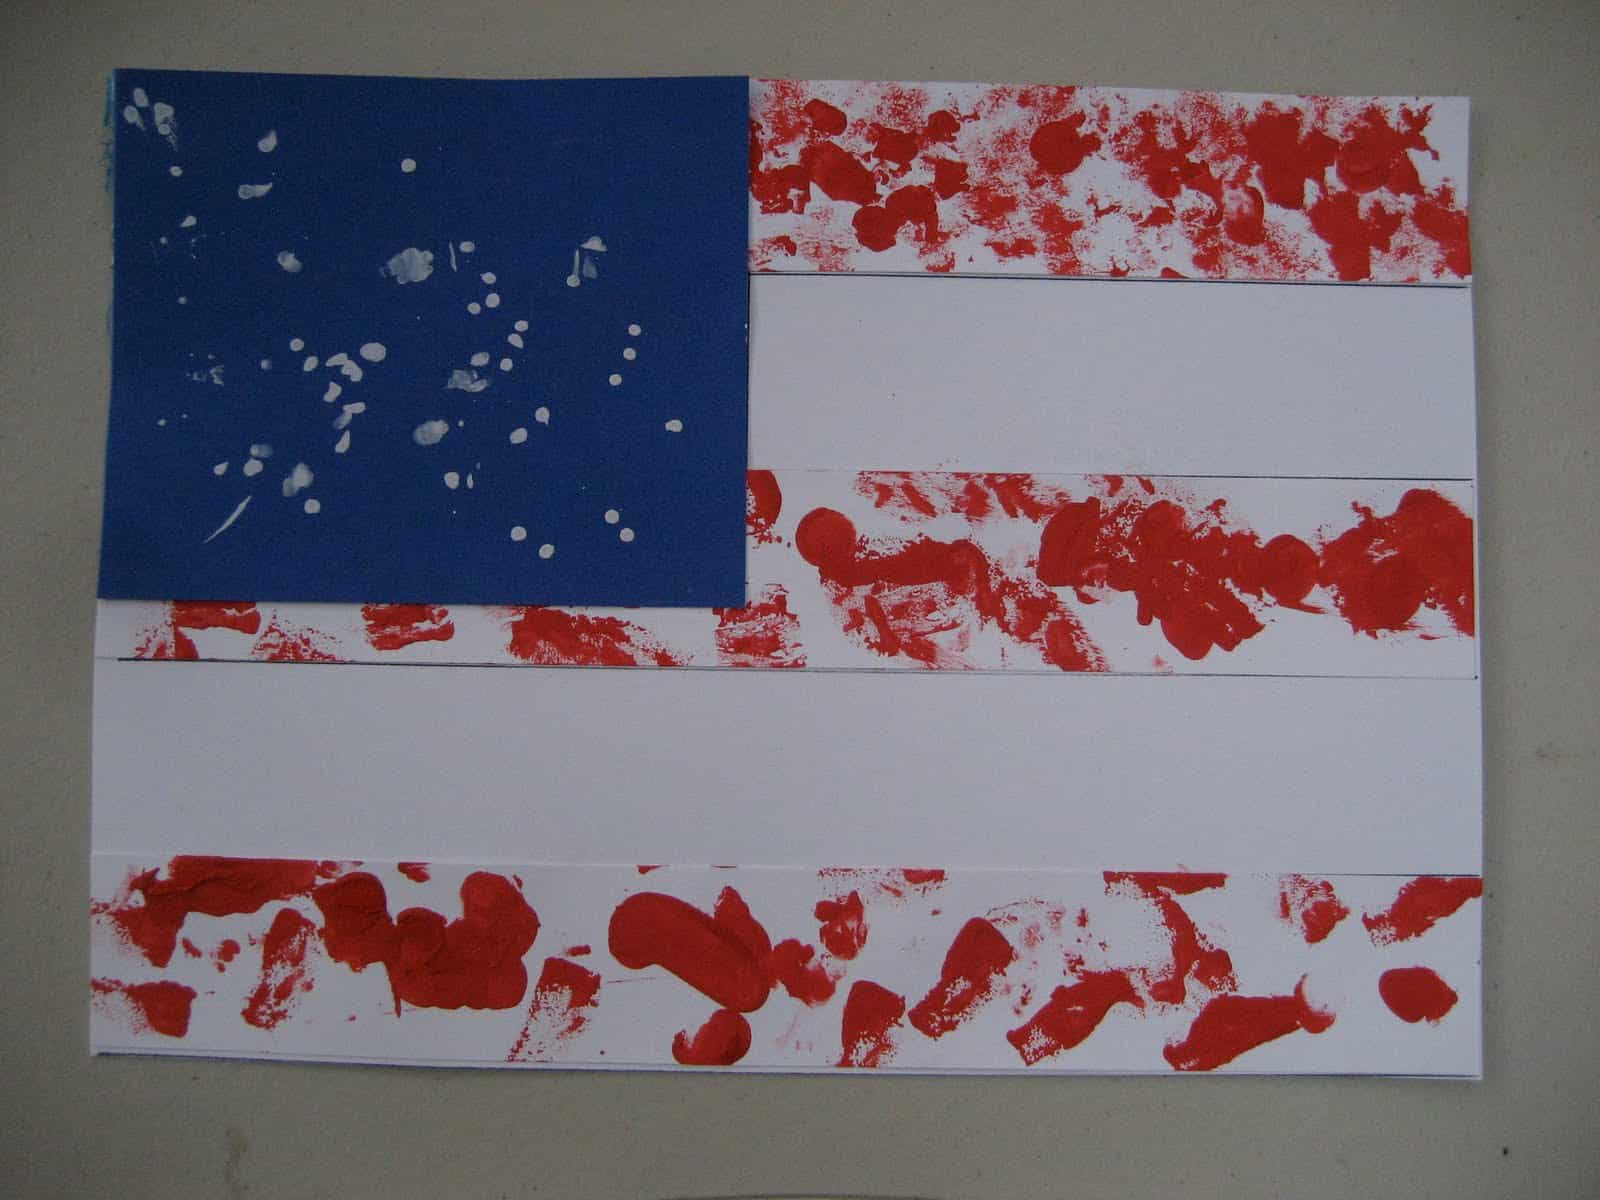
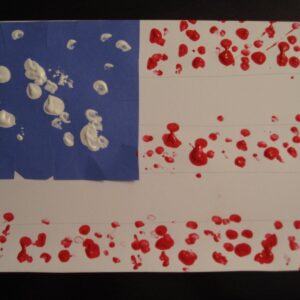
We tried out another flag today and used different tools to get the effects we wanted. This was a very messy activity, but was simple, involved very little prep, and was thoroughly enjoyed by my little guy.
Materials Needed: 2 pieces of white cardstock, 1 piece of blue cardstock, white paint marker, red paint, paper plate palate, tissue paper or paper towels, foam brush (or any other tools you want to paint with), glue, and scissors.
Directions:
1. Pre-cut one piece of white cardstock into strips. Ours were about 1.5 X 11. Pre-cut a piece of blue cardstock into a small rectangle. Ours was 4 X 4.5 (or around there).
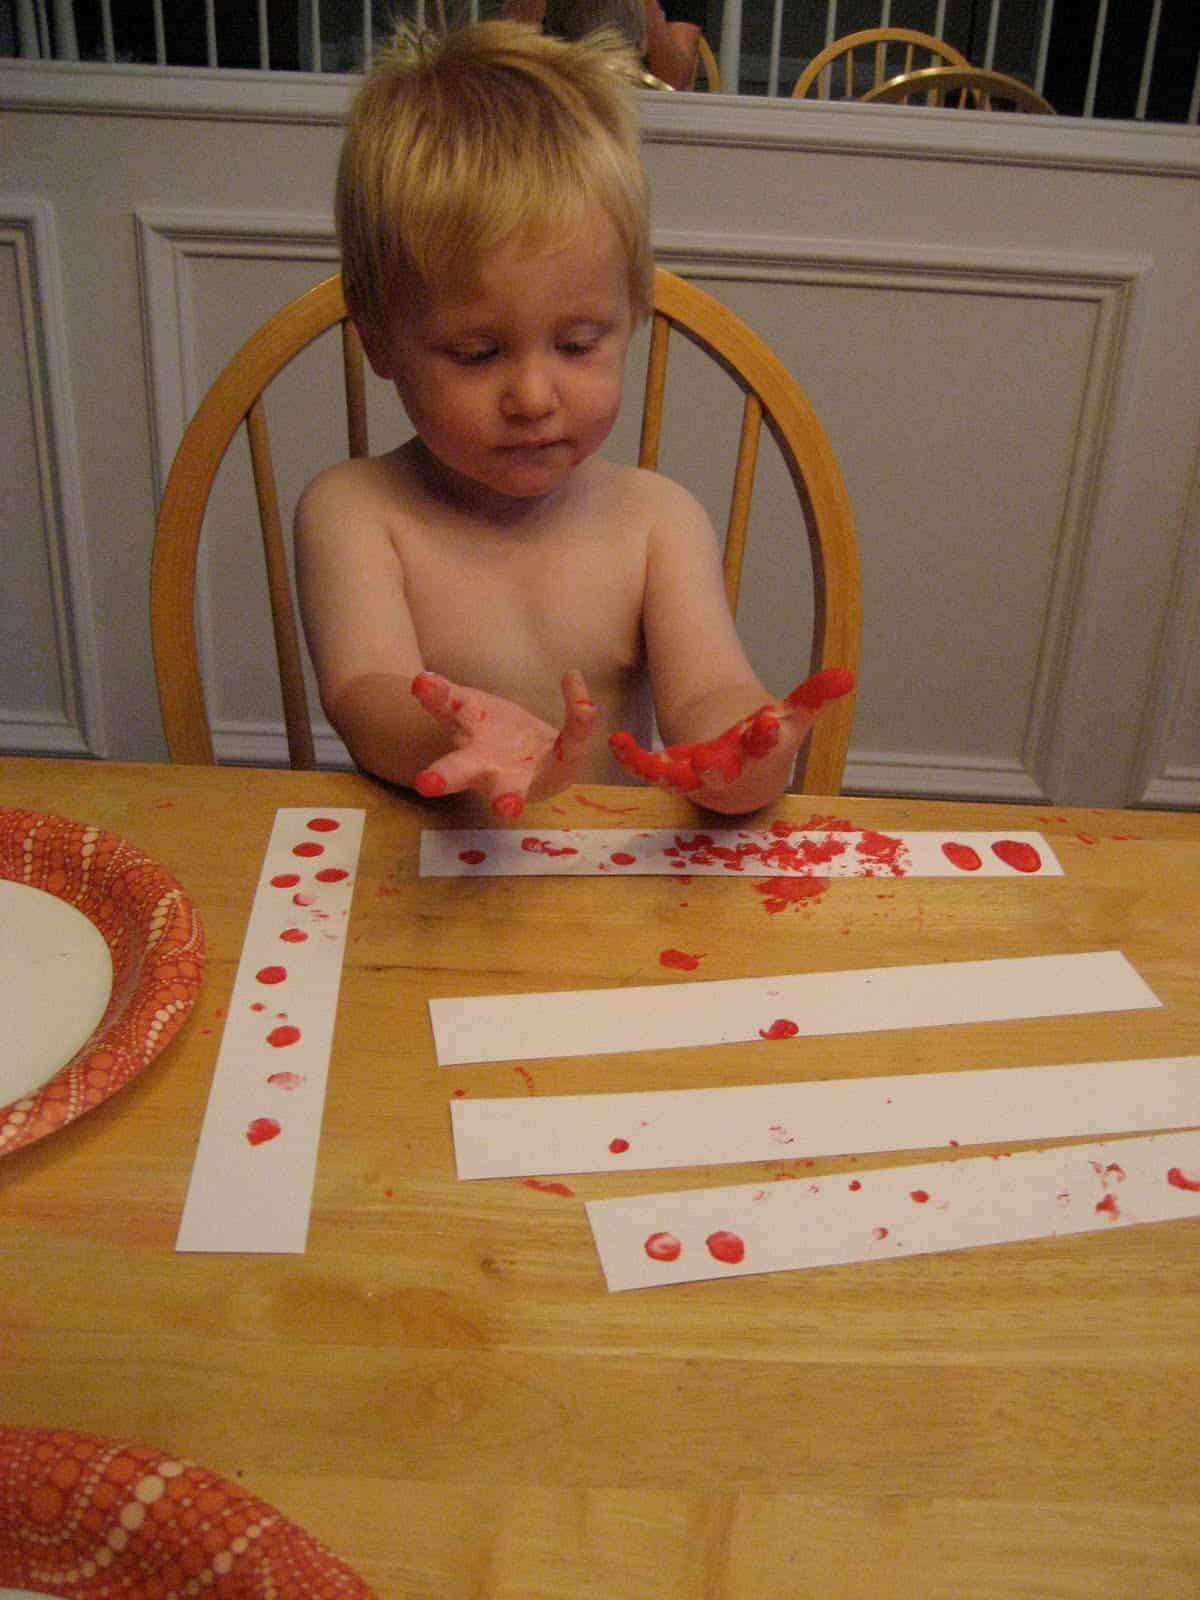
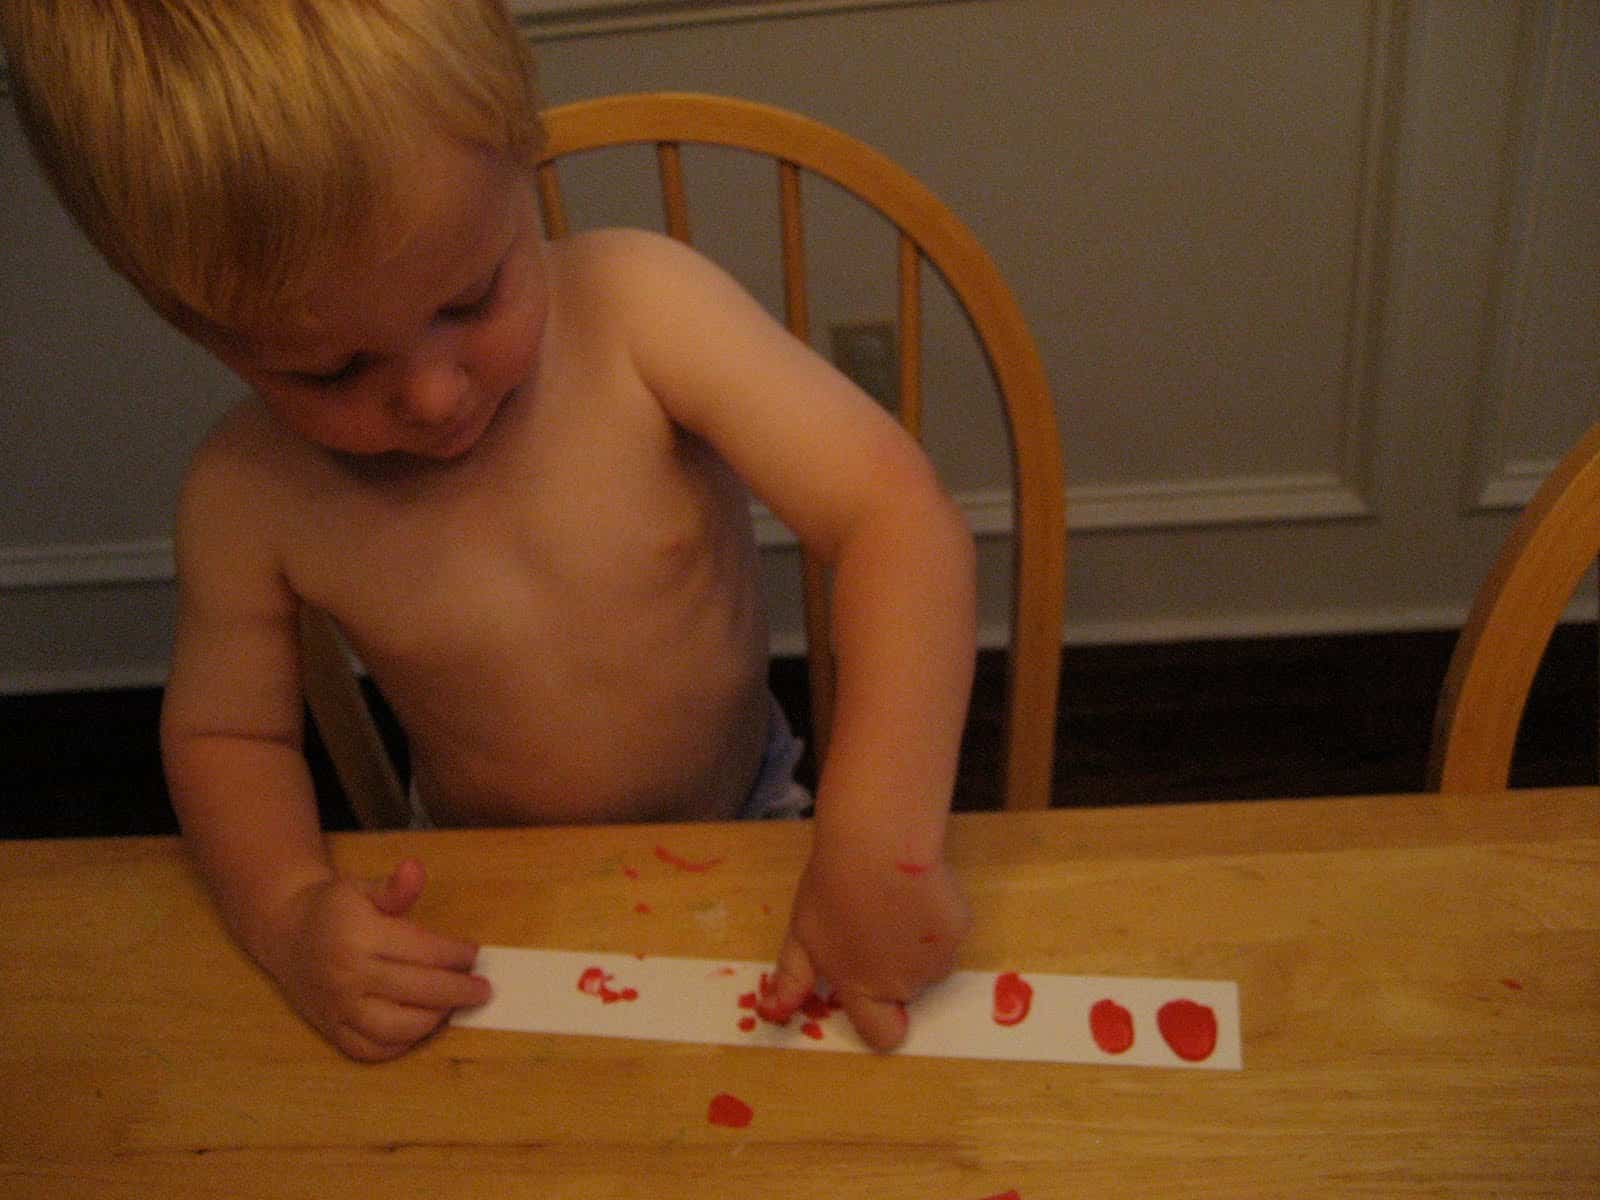
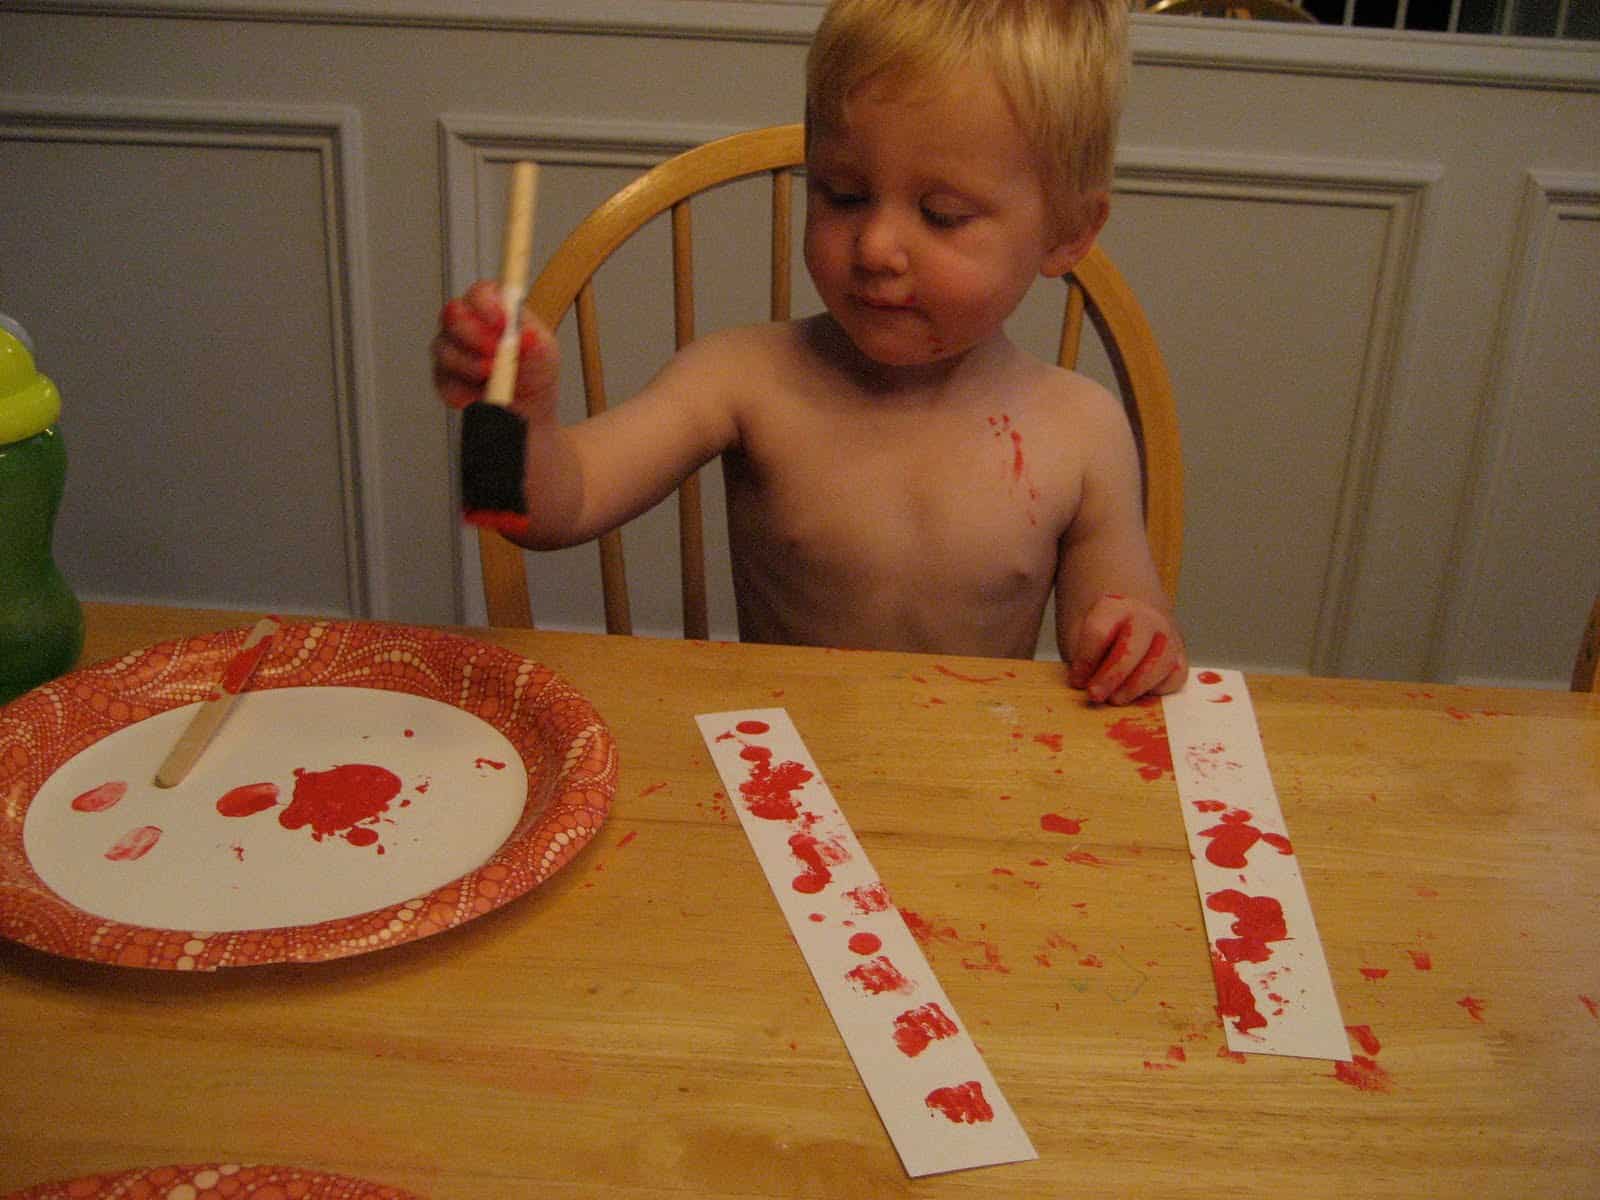
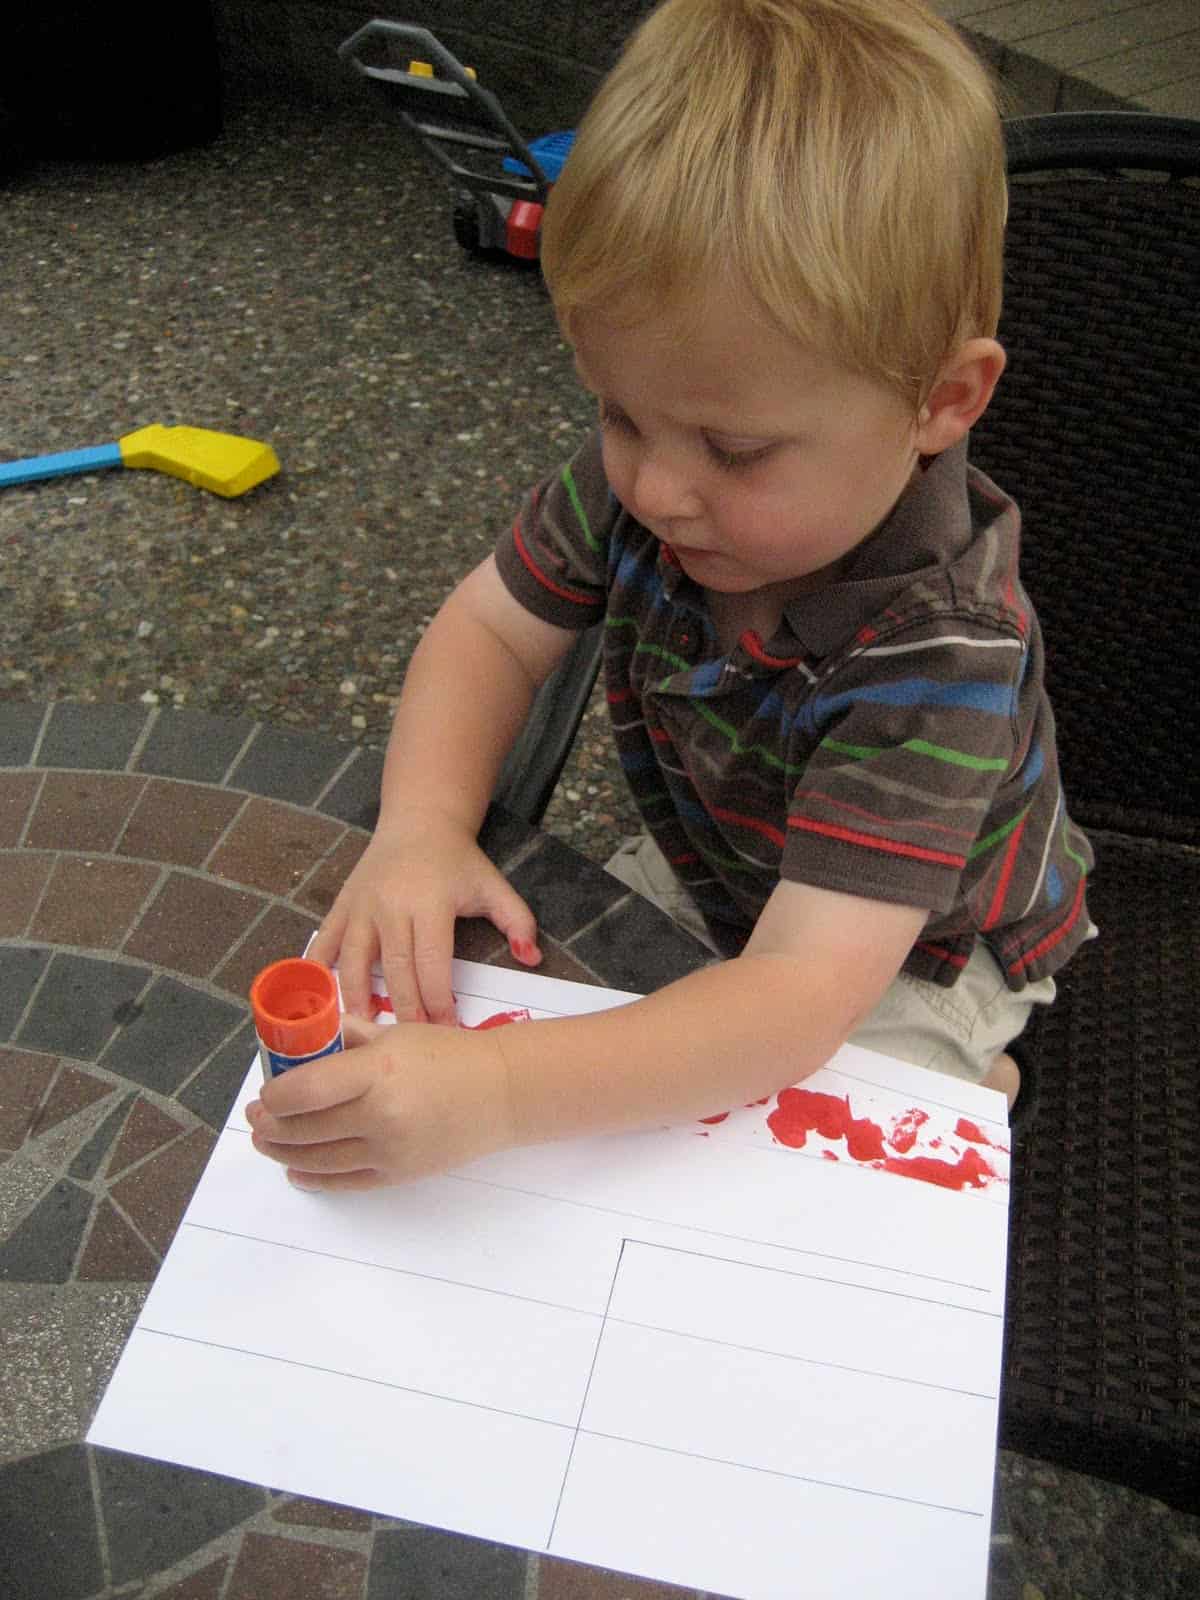
2. Put some red paint on a paper plate and have your little one use his fingers to decorate the strips of white paper.
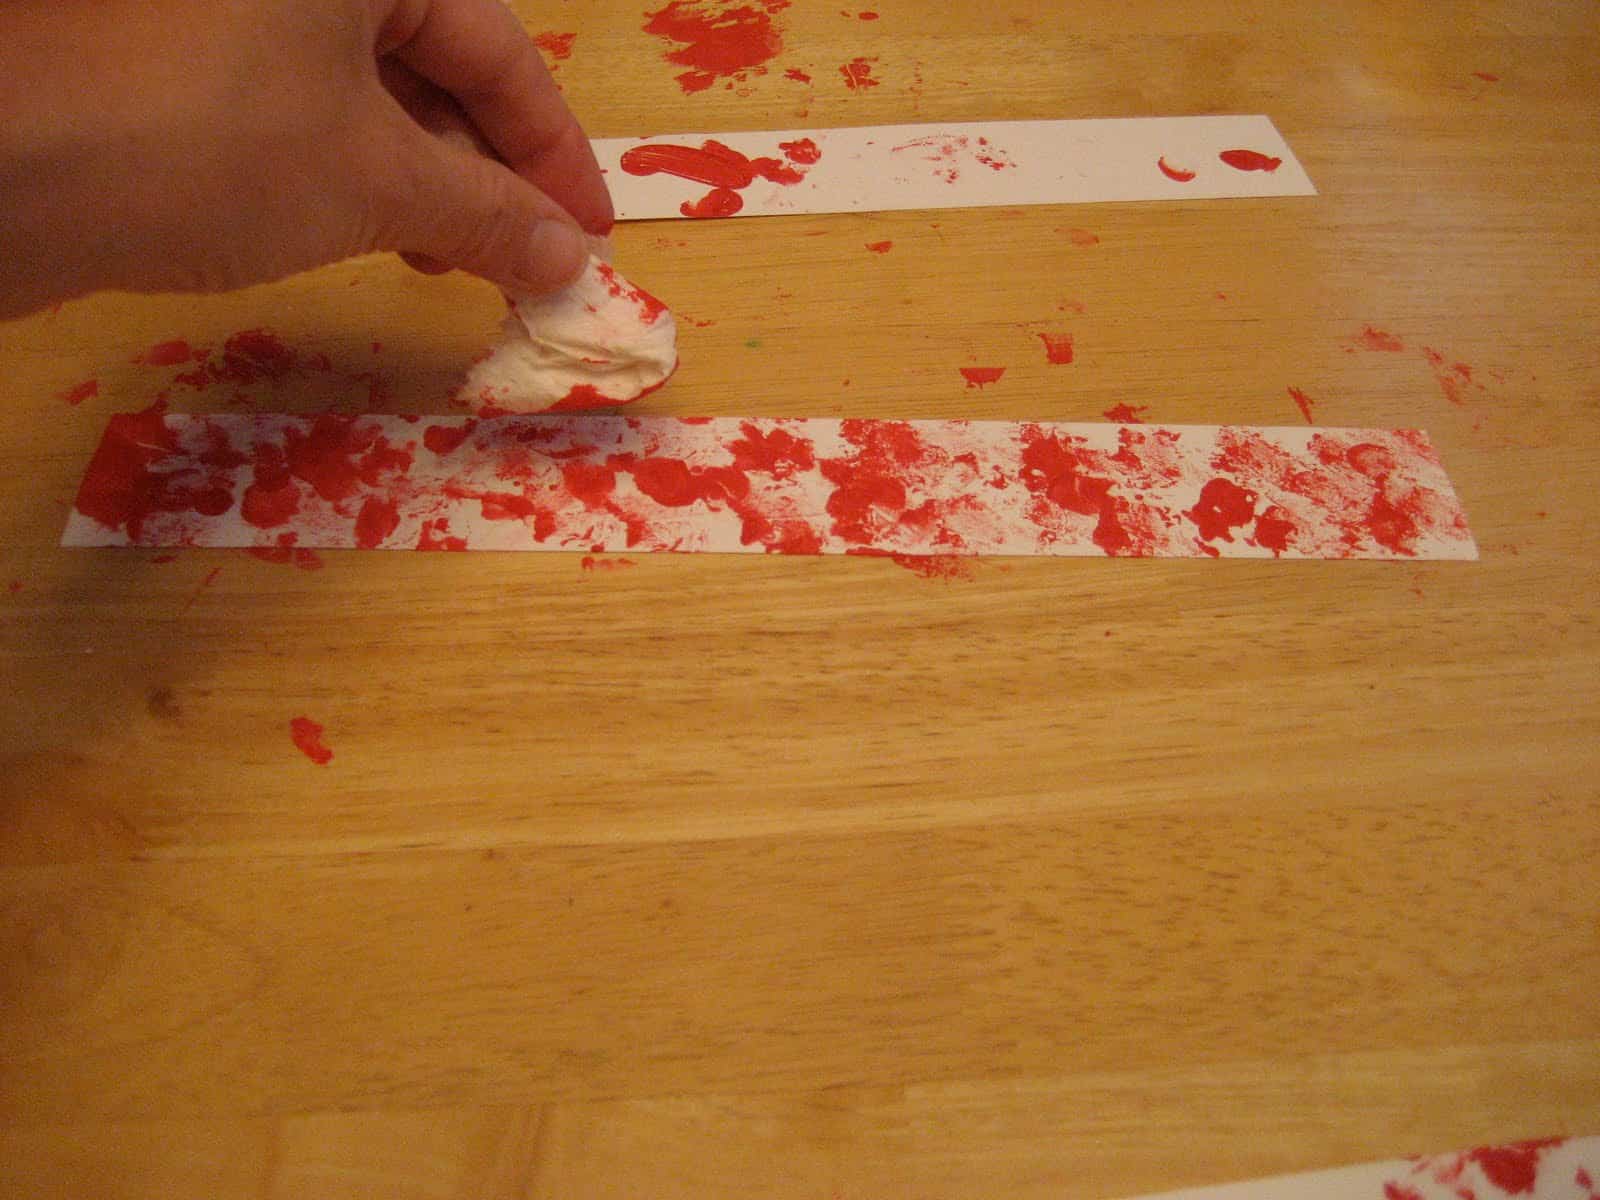
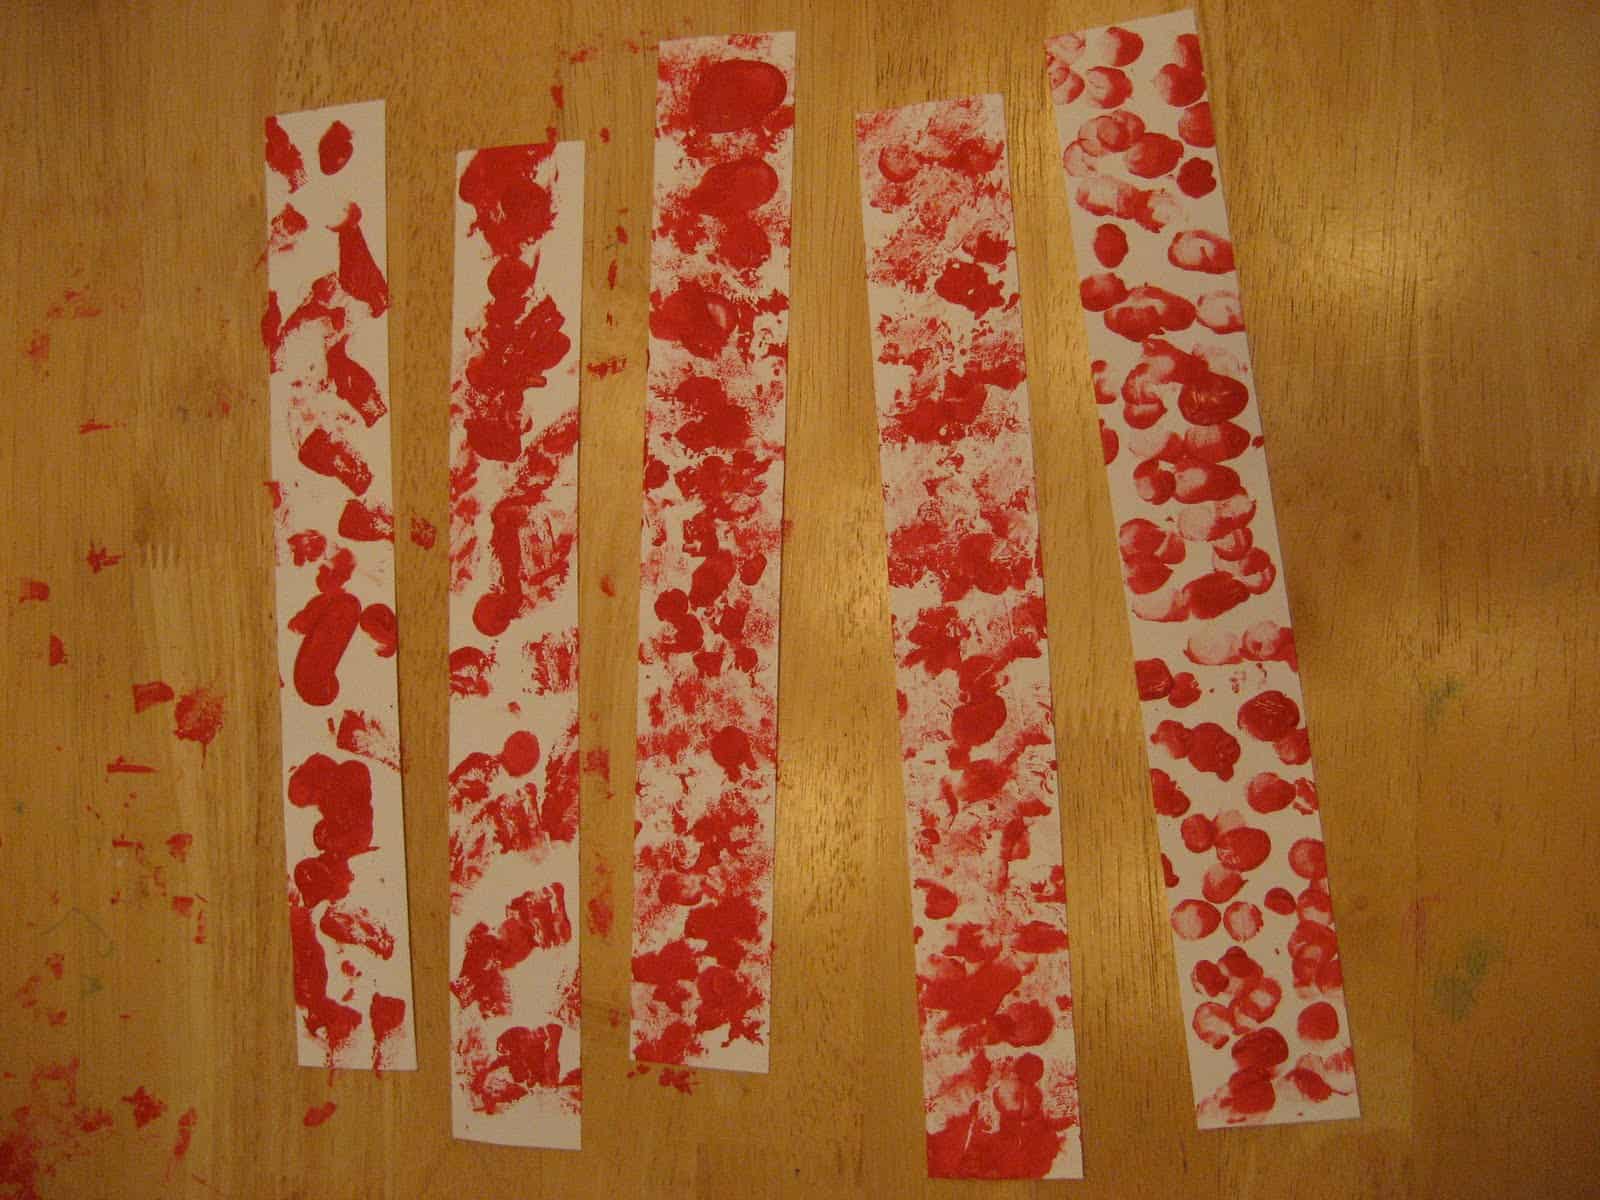
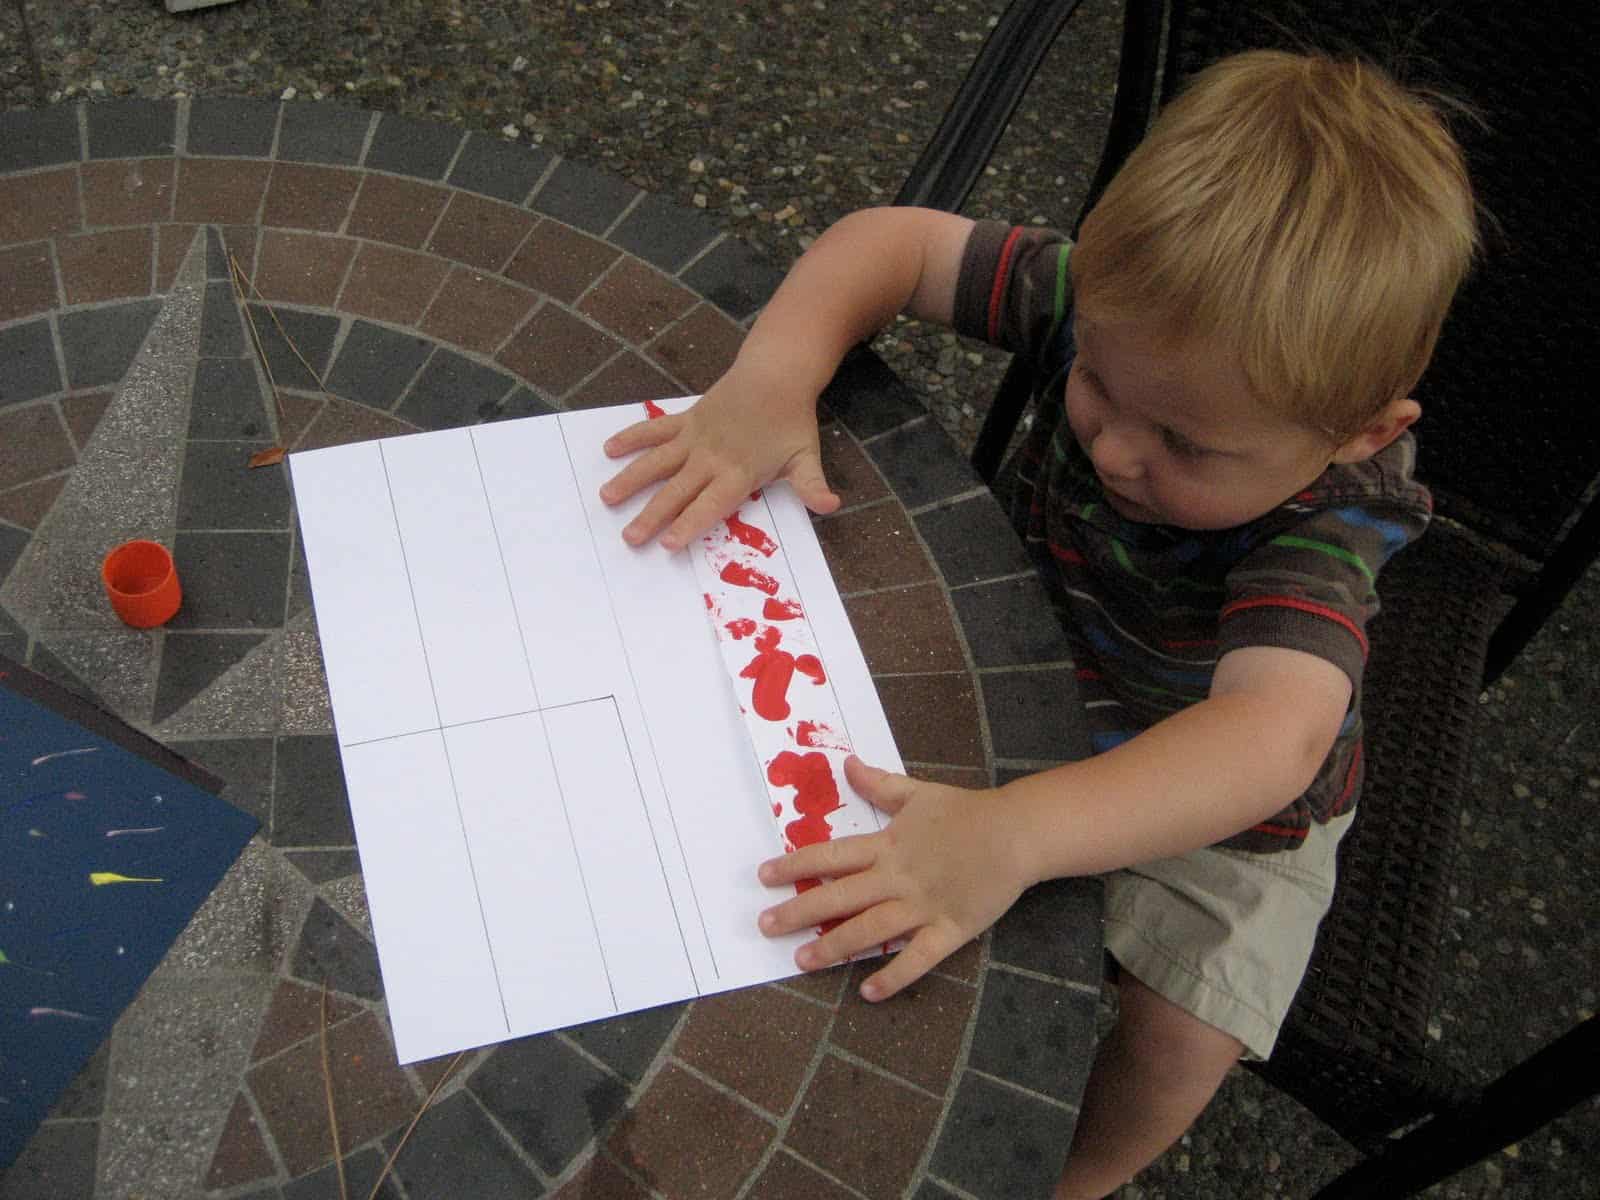
We also used squished paper towels to provide some more texture to our strips...
and we used a foam paint brush to get more paint on the strips once little fingers were tired. I've found that varying the tools throughout the activity helps hold interest in the activity for a longer period of time.
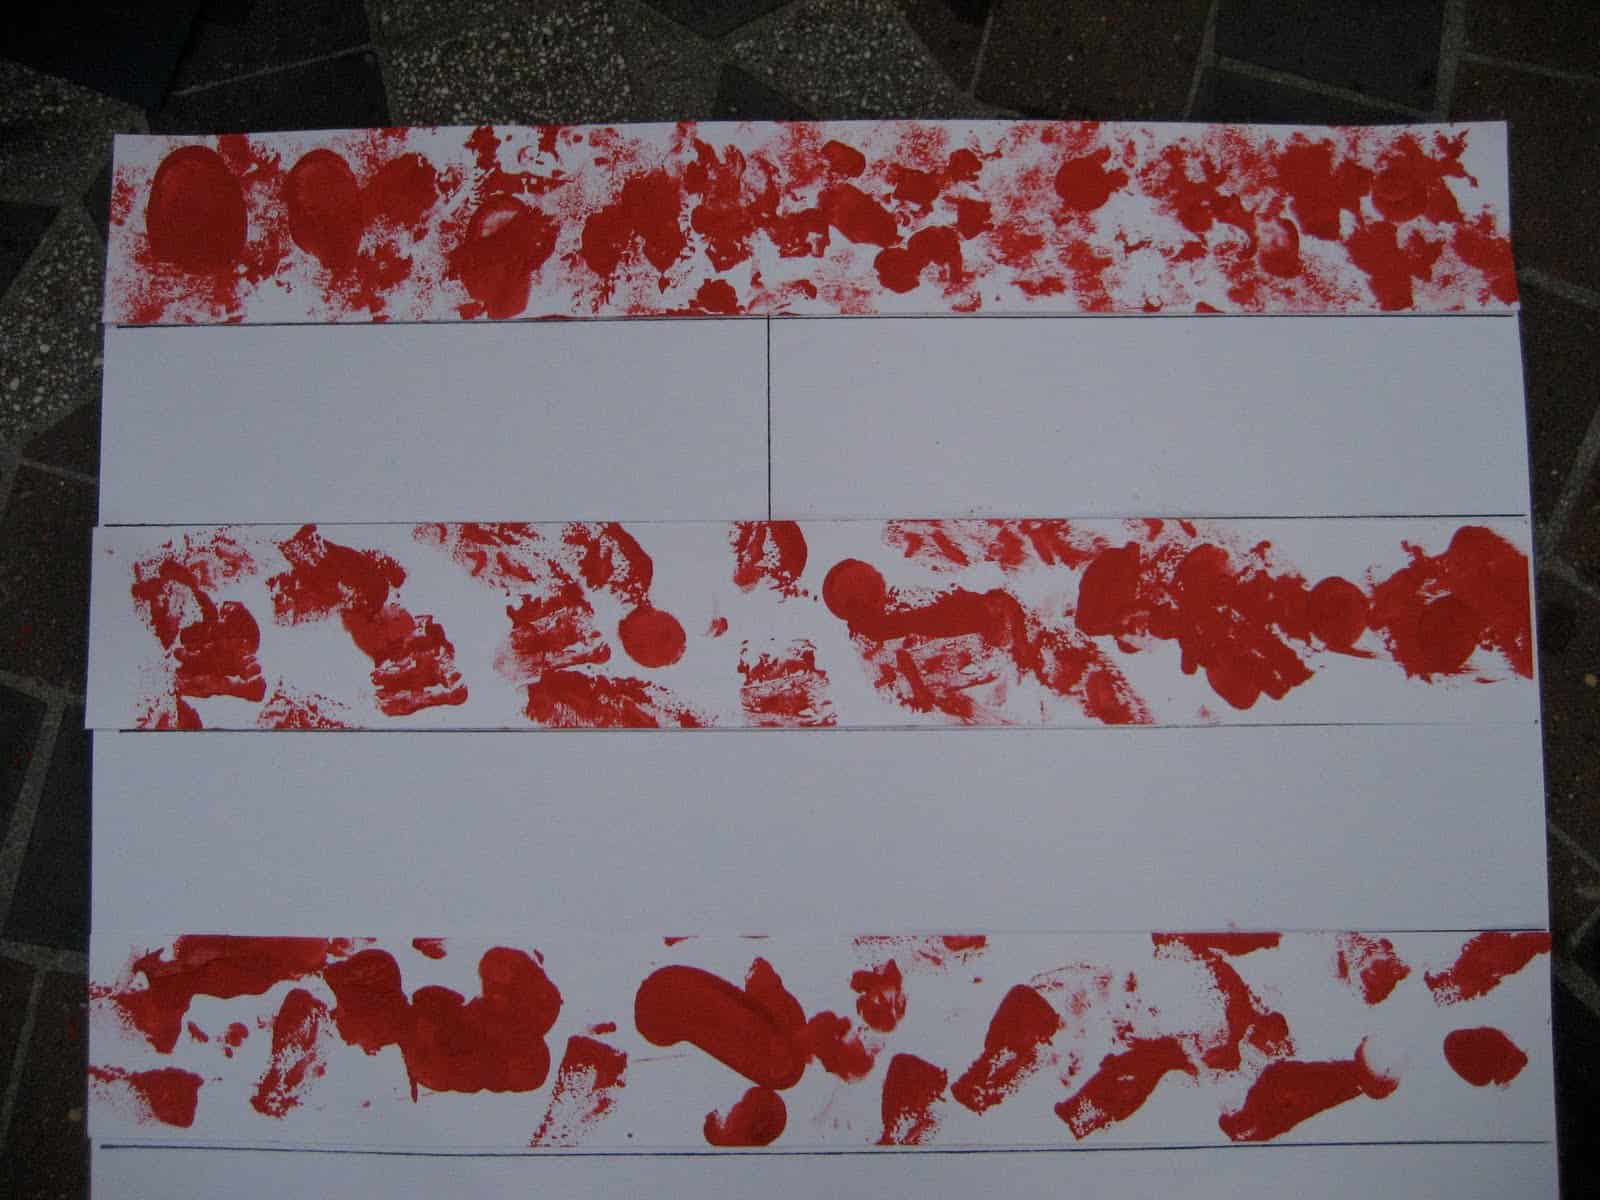
3. Let the red strips dry.
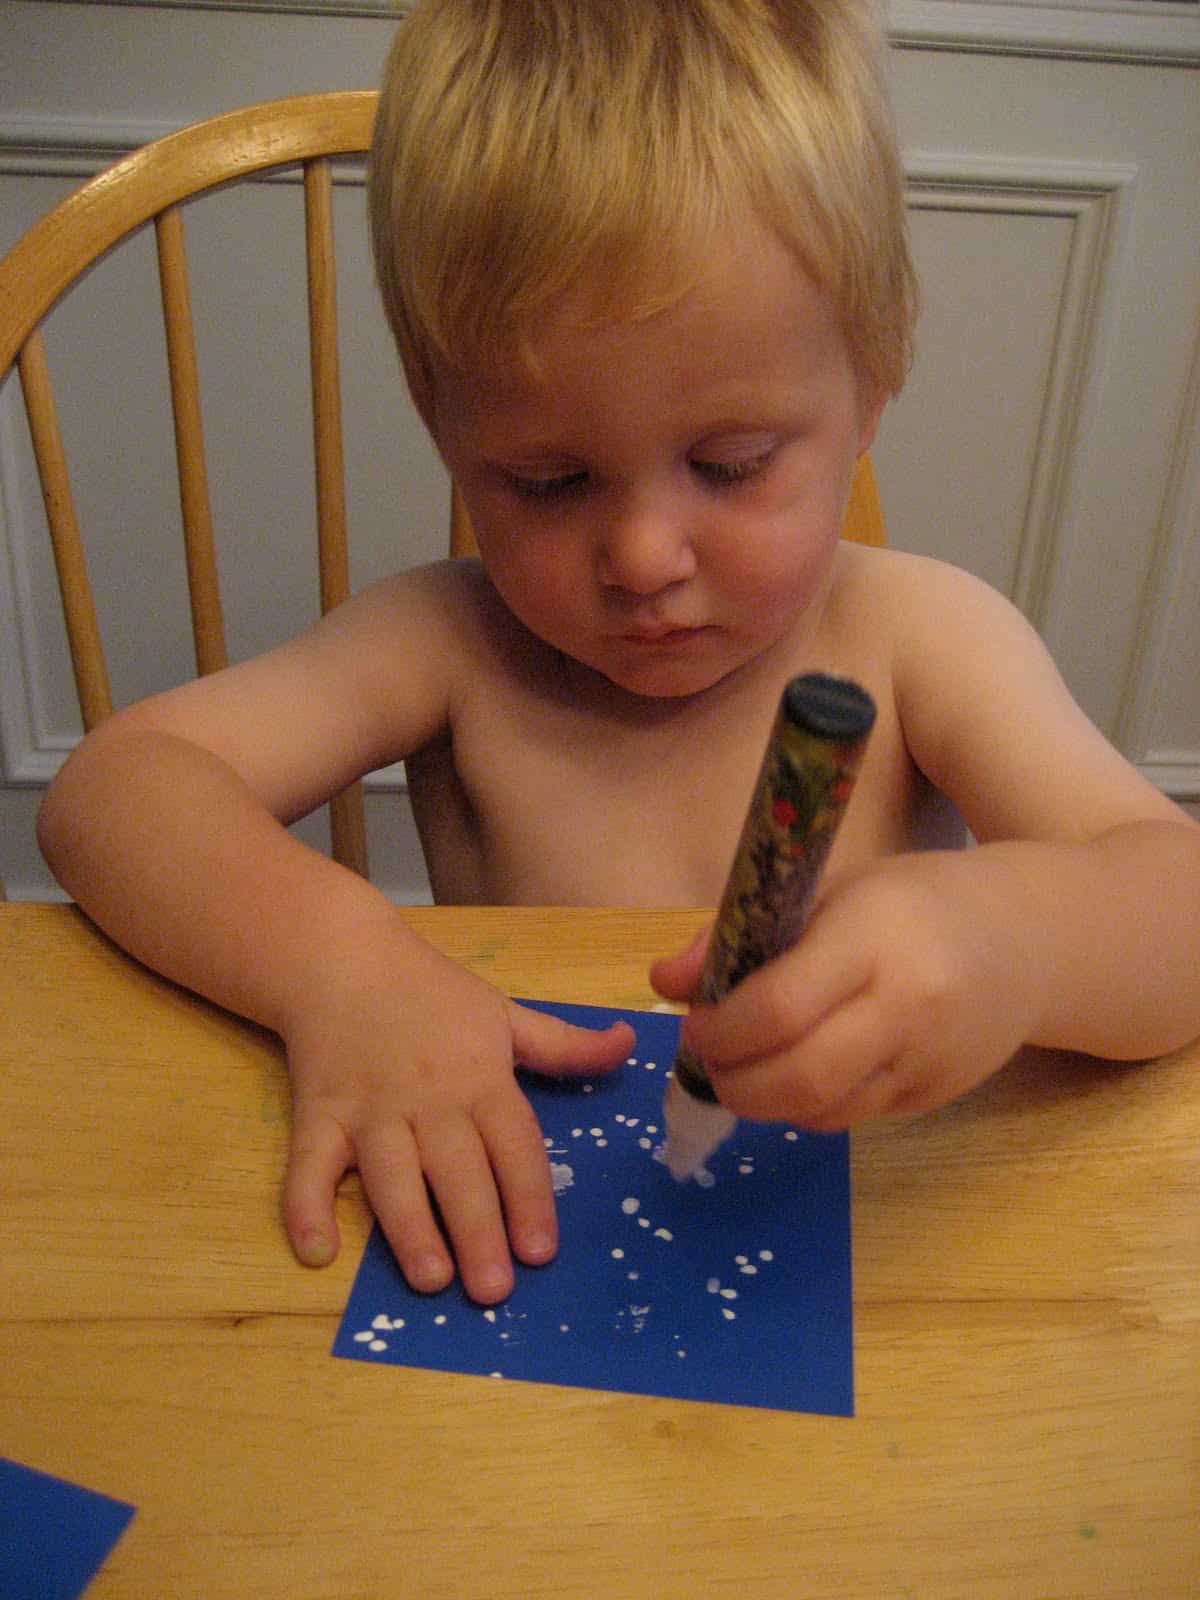
4. Use a white paint marker or white paint with other tools (toothpicks, popsicle stick, etc.) to make some stars on the blue paper. The markers we used are actually for Terra cotta pots, but they worked great for this activity too.
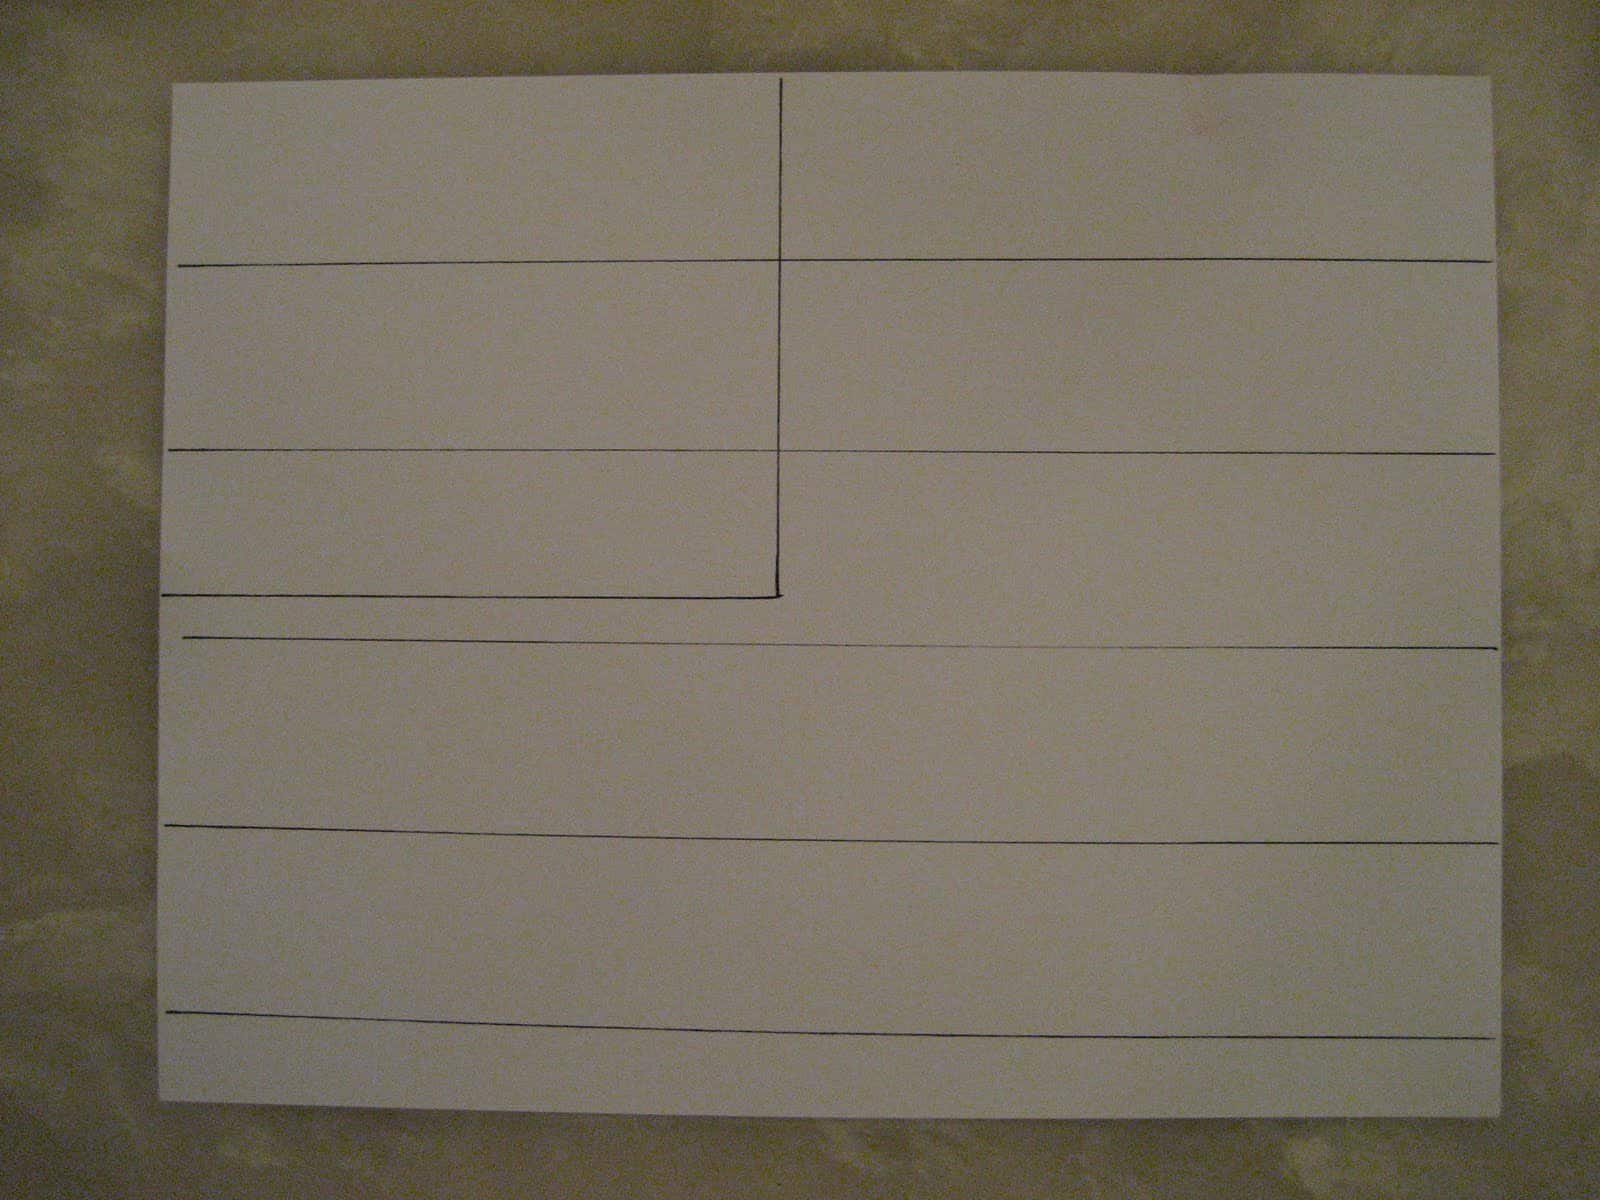
5. Let everything dry. While things are drying, make a quick template like this on your other piece of white cardstock. I used some of the extra paper/strips we didn't end up using to make this page. Having the outline will help your little one when they are trying to figure out how to arrange their flag pieces.
6. Put glue on the lines where the red strips should go. My son and I took turns doing this and I would point to the area for him to glue.
7. Put the strips in the correct area and press down.
8. Glue the back of the blue square and add it on top.
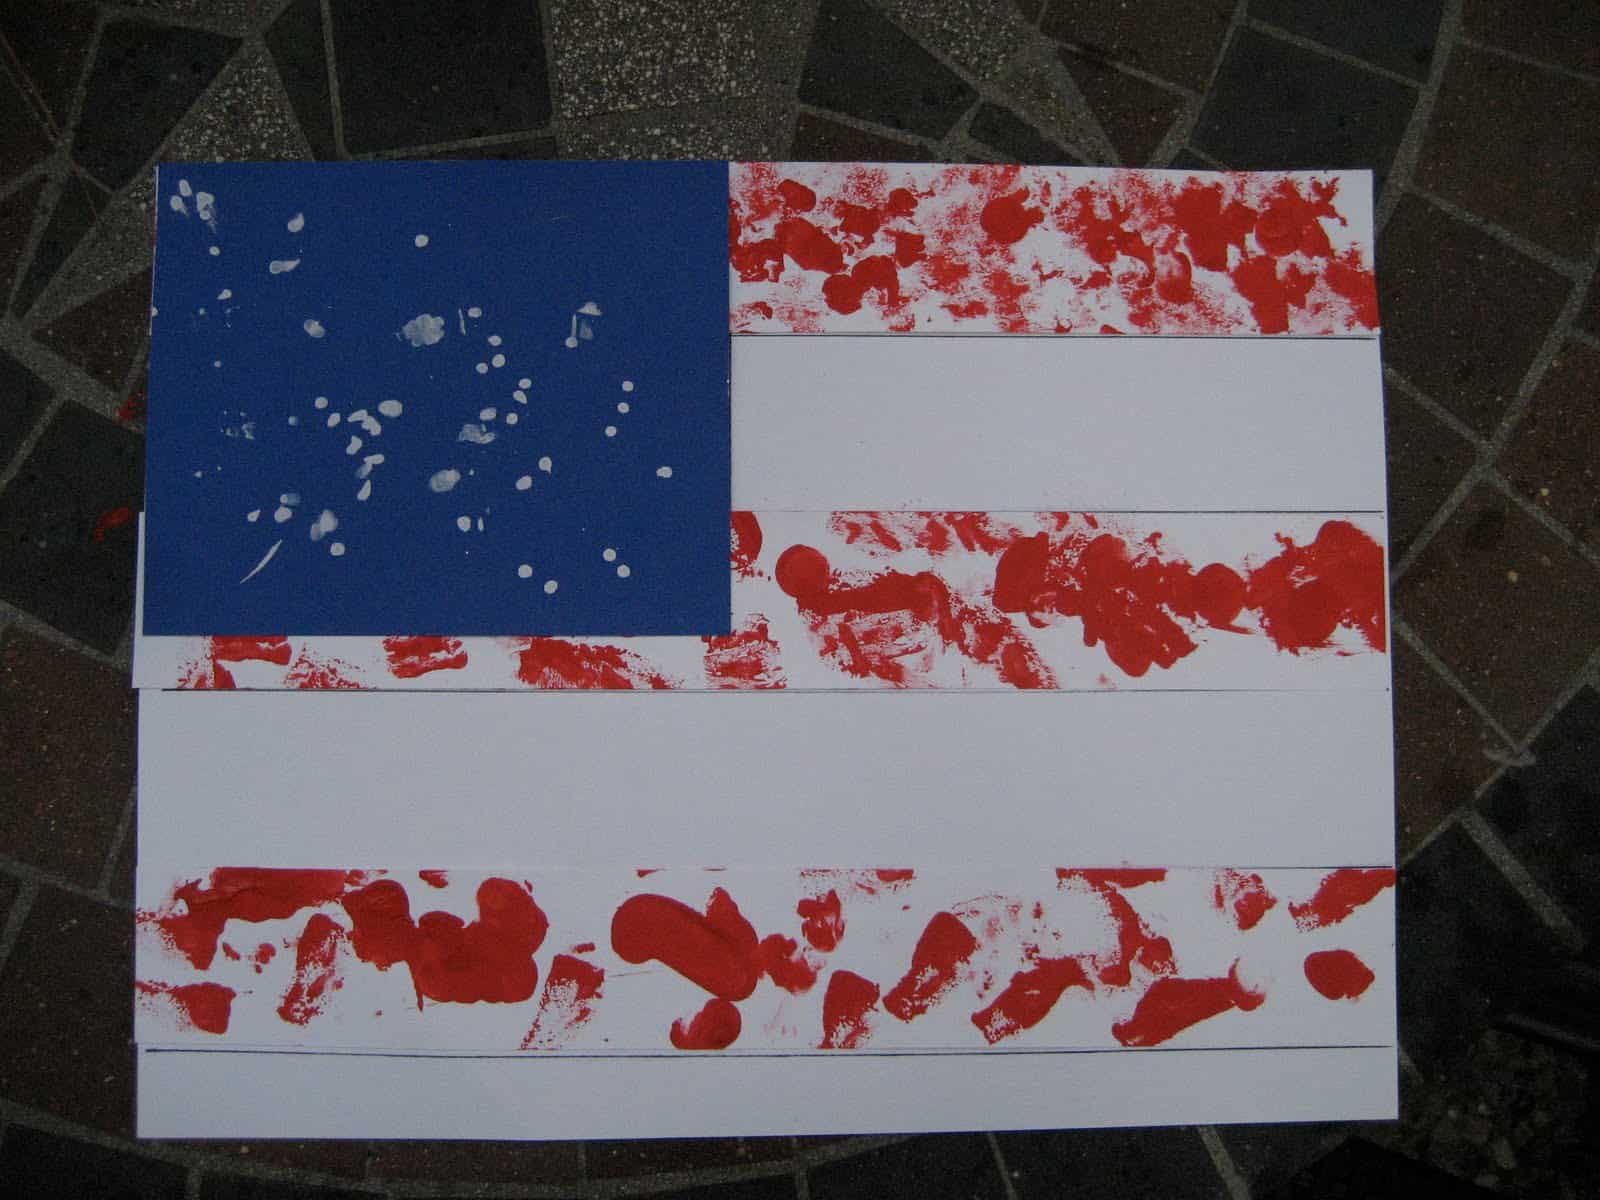
9. Use scissors or a paper cutter to trim any edges.
We finished this activity off by reading Scholastic's The Pledge of Allegiance book and looking at the pictures.


Leave a Comment