
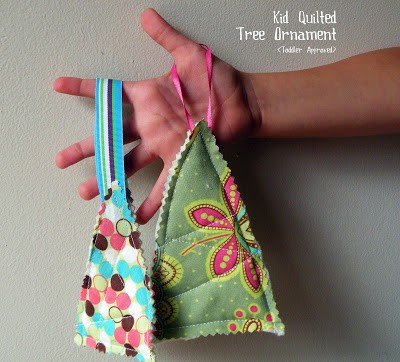
My daughter is always asking to sew with me. While going through our ornaments, I found a simple quilted fabric tree and thought it would be fun to replicate and make together (as well as minimize my fabric and ribbon scrap stash).
I knew this project would require a lot of patience and supervision, so I was sure to prepare as much as I could in advance. I would recommend cutting/sewing the basic outline of the ornament by yourself, then have your child help when it is time to quilt.
Items Needed:
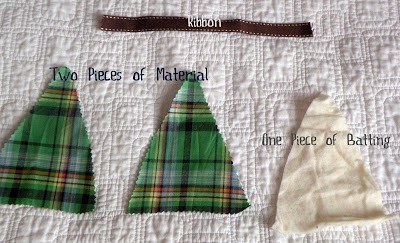
2 Pieces of Material (cut in the shape of a tree)
1 Piece of Batting, Fleece or Felt (cut the same shape as your material)
Ribbon
Sewing Machine
Scissors/Pinking Shears
[Tip: Cutting the fabric with the pinking shears will prevent fraying, and also gives it a finished look]
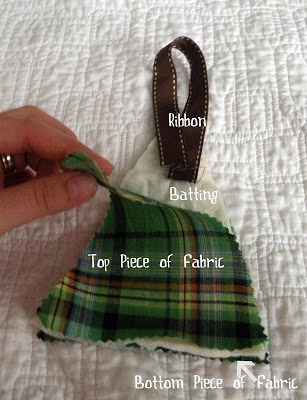
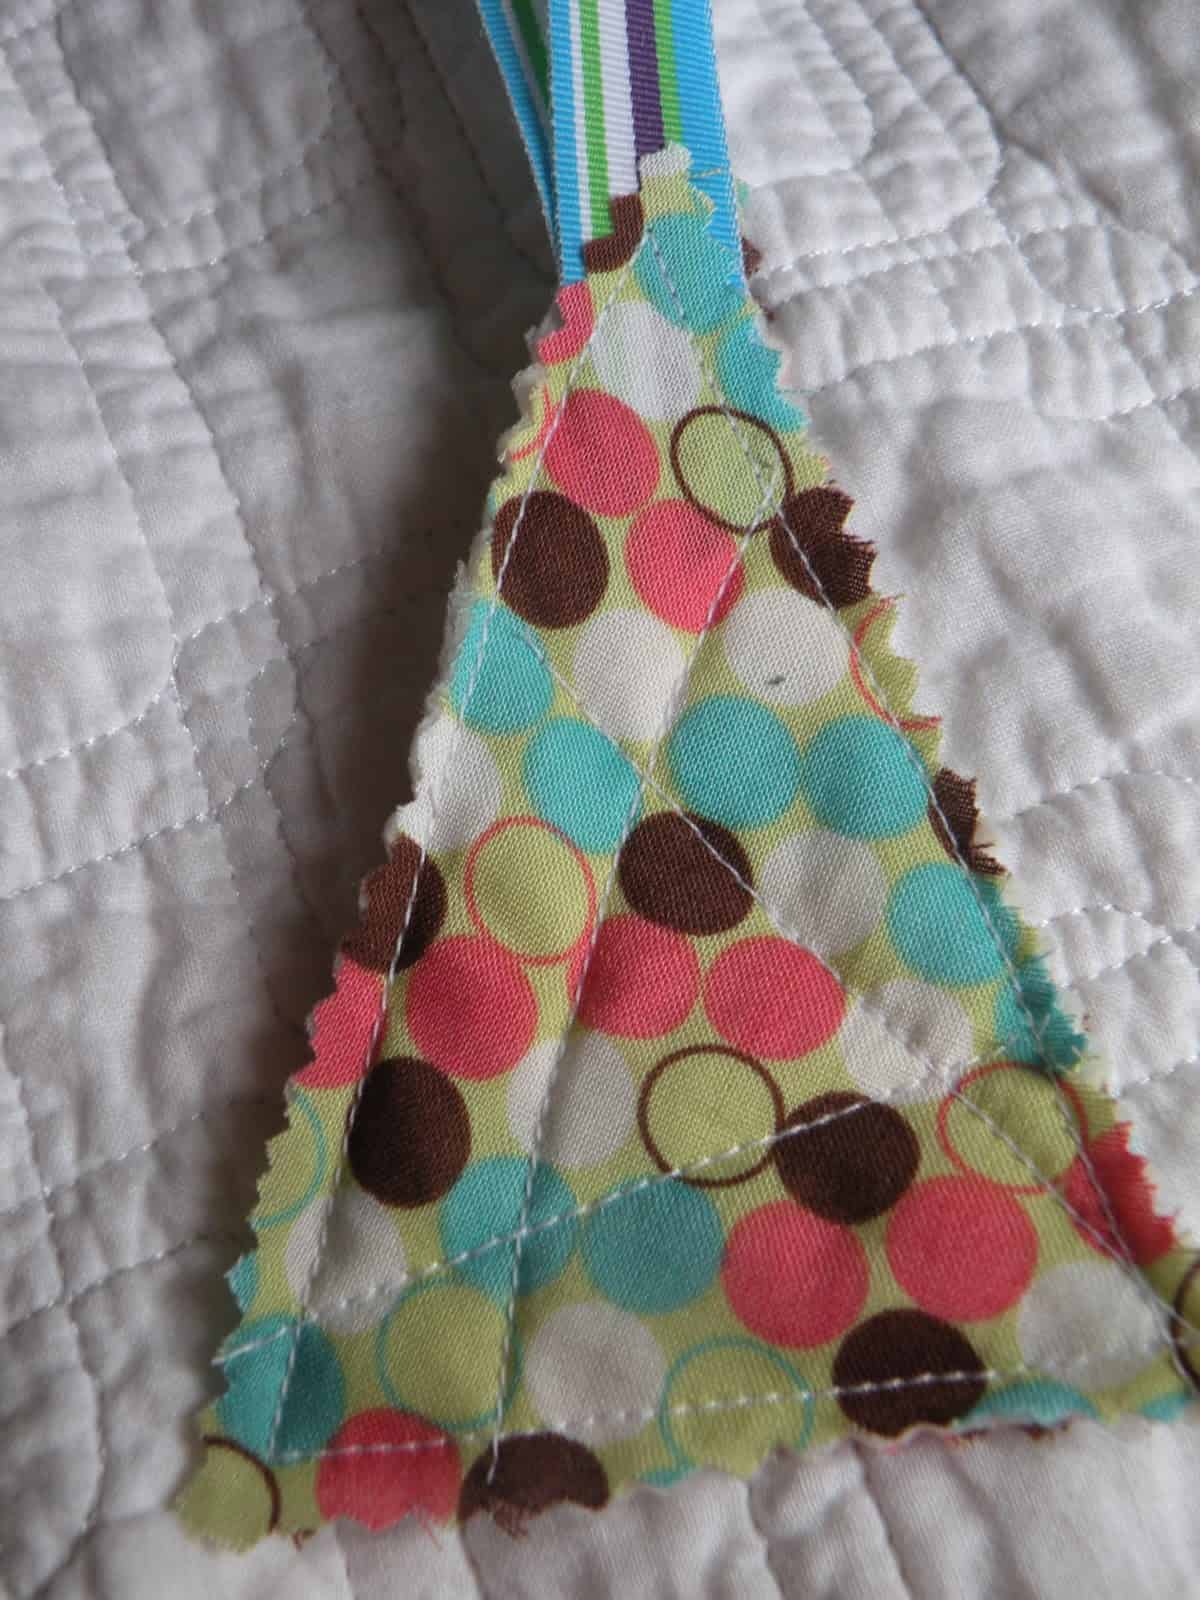
Sandwich the piece of batting and looped ribbon between both pieces of fabric (with wrong sides of the fabric touching the batting).
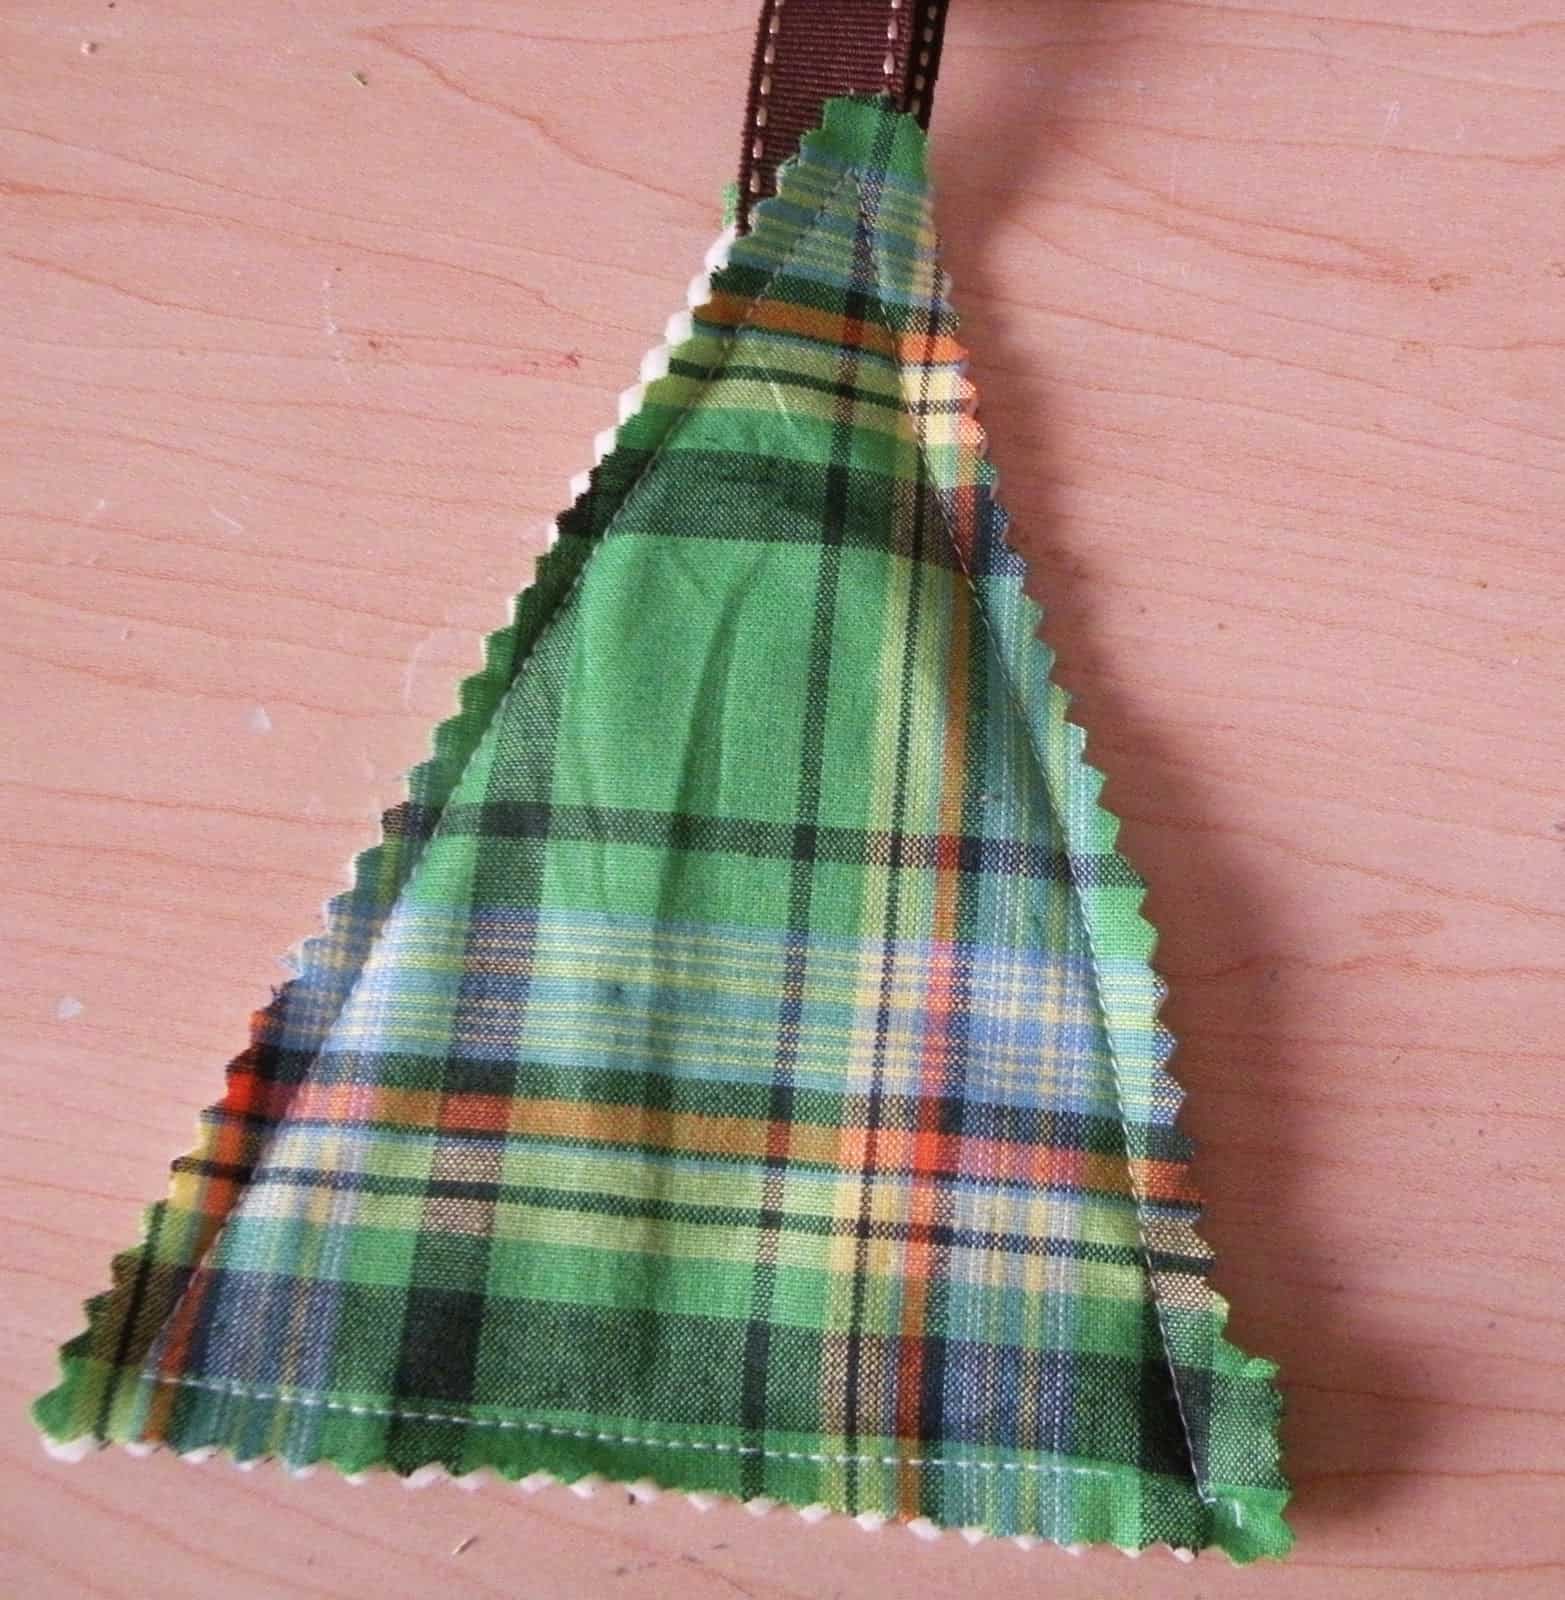
Pin and sew around each side. Be sure to take your time while sewing over your ribbon so that it doesn't slide out while you are sewing. Trim off any extra strings. ***Now, you are ready to have your child help with the quilting.
Of course - we first discussed safety, established some rules and then I explained how we were going to execute the project prior to bringing my daughter anywhere near the machine.
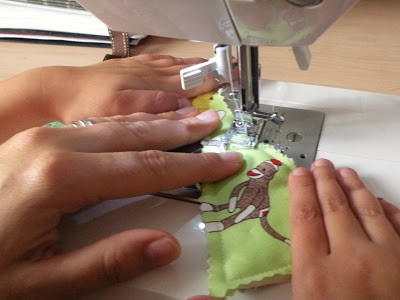
I demonstrated first, and then - with my daughter on my lap - we both guided the fabric in a diagonal line from one edge to the other (I controlled the pedal and speed the entire time). I would let her decide where we would start stitching and the direction we would go each time.
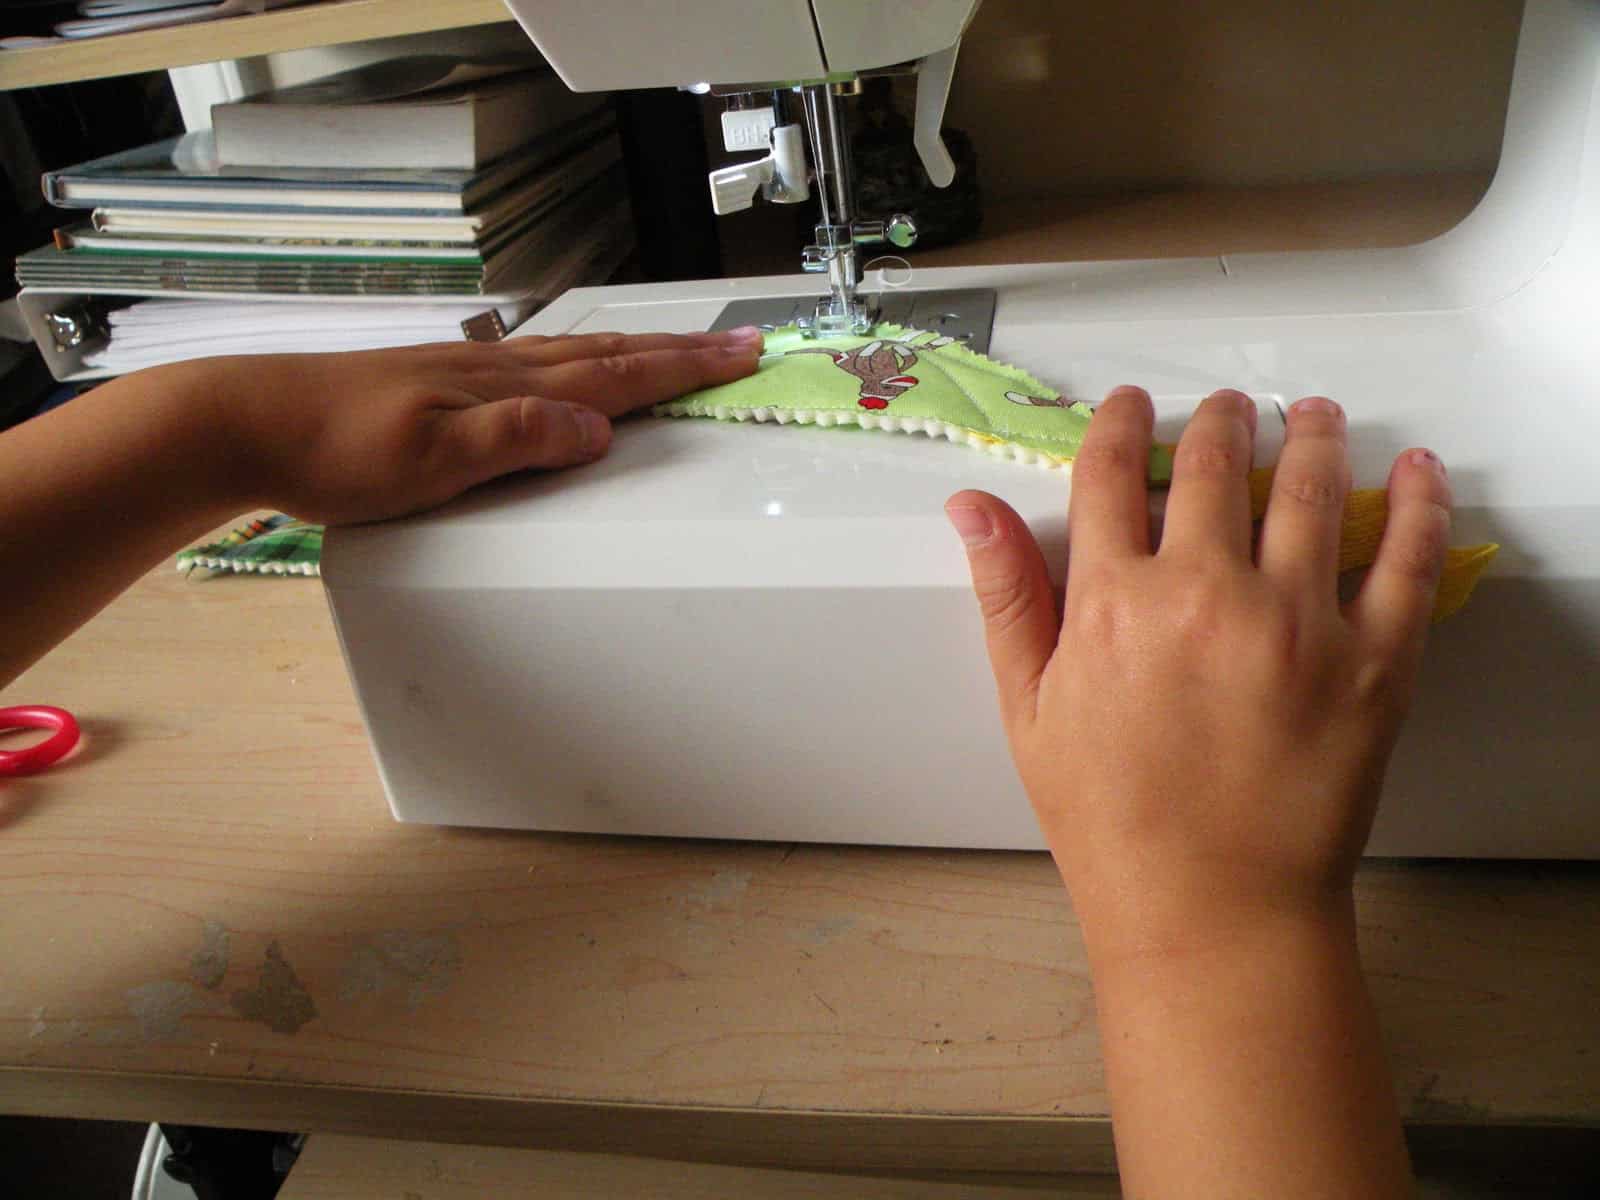
We worked together guiding the fabric until I felt like she could safely guide it through on her own (of course, this is all happening while she is still sitting on my lap and I am controlling the pedal/speed - so I can stop and step in at any time).
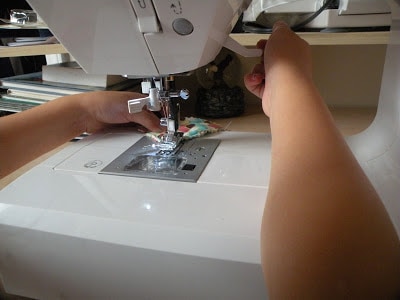
I was surprised at how quickly she learned, that she was able to remember the steps, and of course, what little help she wanted from me. She loved raising and lowering the presser foot . . .
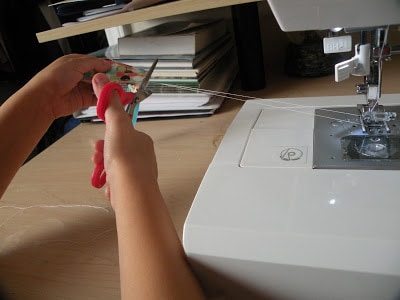
. . . and snipping off the excess string.
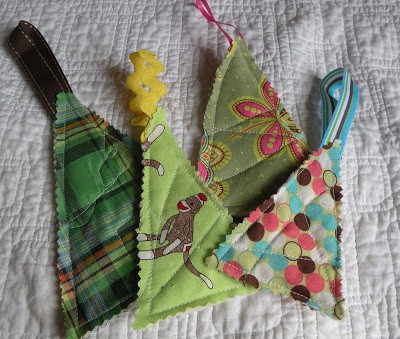
Our ornaments were pretty small - so we only did three quilted lines on each. We made four ornaments total, which seemed to be the perfect amount - it allowed her to understand the process, and feel confident in performing the task without being too overwhelming or taking too long.
This activity provides so many opportunities for learning (following directions, understanding verbal and visual cues, developing fine motor skills, encourages creativity).
I can honestly say I wasn't sure what to expect when we started sewing together (I remember that I wasn't exactly the easiest student to work with when learning from my mom) - but I think that my advance preparations and the simplicity of the project helped make it a positive and pleasant experience. Most important, it provided an opportunity for me to show love by spending "quality time" with my daughter.
Don't forget - tomorrow is the last day to enter the ZipBin Giveaway!


I am teaching my granddaughter to sew, and this would be good for her first real project! Thanks, Nanna
Hi Kristina,
What wonderful crafts to make with my Grand-children. I had a sewing machine but when I moved into my new home, I could not find it. I will have to purchase another one and soon. Please keep the crafts coming, they are always so beautiful. If I have crafts and want to share it with everyone on this site, what do I need to do? Also, do you have any Plastic Canvas crafts with free patterns? If yes, I would love to have some because I love Plastic Canvas. Keep on Crafting! Margie Barra Jacco.
Thanks so much for your note Margie! I don't think we have any plastic canvas crafts 🙁 You are always welcome to email me a craft photo and I can share it on our Facebook page! toddlerapproved[at]gmail.com
Just bought a cheap, mini sewing machine for crafts. I think this will be our first project! It cost $15 at Big Lots, hope it works.
Love this!
These are soooo cute! I don't own a sewing machine! I'm afraid to get one! I can't afford another cool hobby. Maybe I could do this with fabric glue?