TODDLER ACTIVITY CALENDARS FOR PARENTS
Make your life easier with a plan!
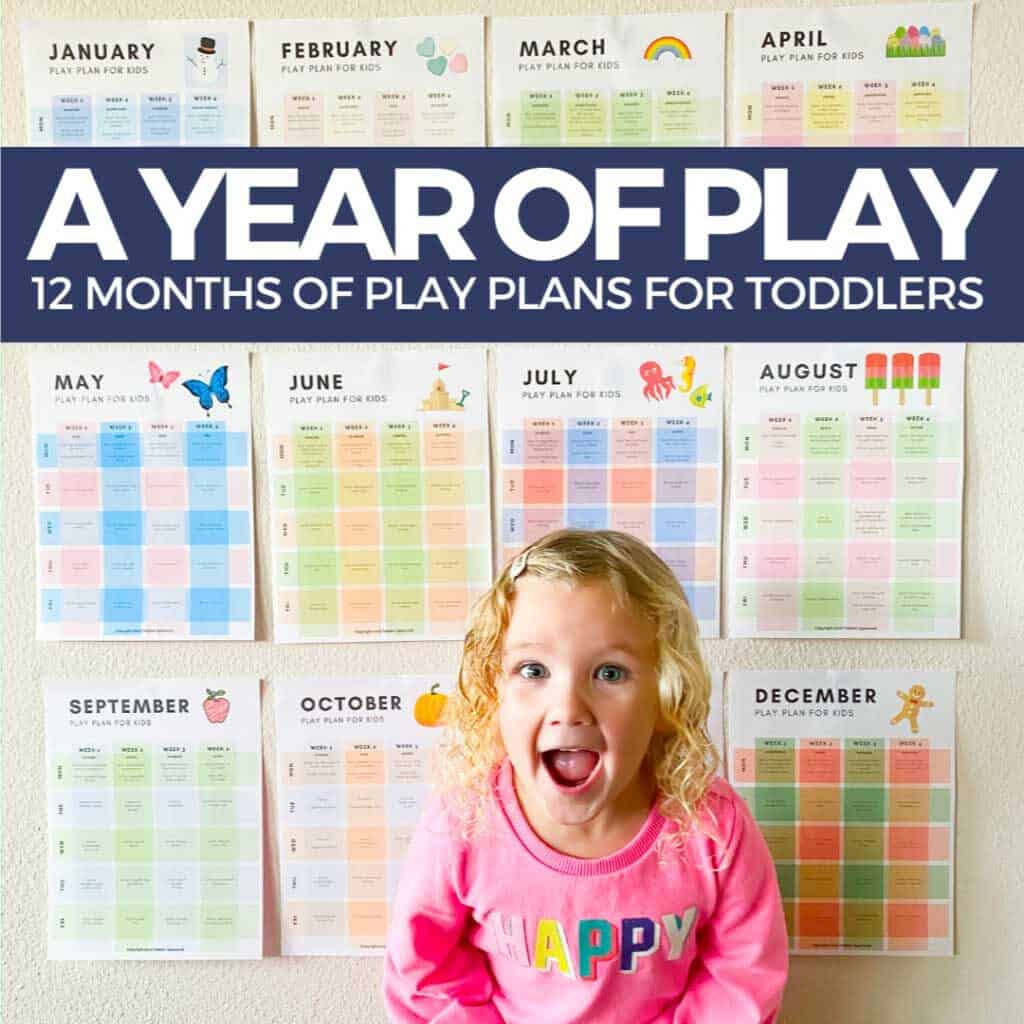
The Year of Play is a simple ebook filled with a year of hands-on playful learning activities. It is created for kids ages 2-6 years old and includes 12 monthly calendars and 48 weekly activity plans!
Feel organized and calm knowing you have a plan if you need it! Create, connect, and play more with your kids this year!


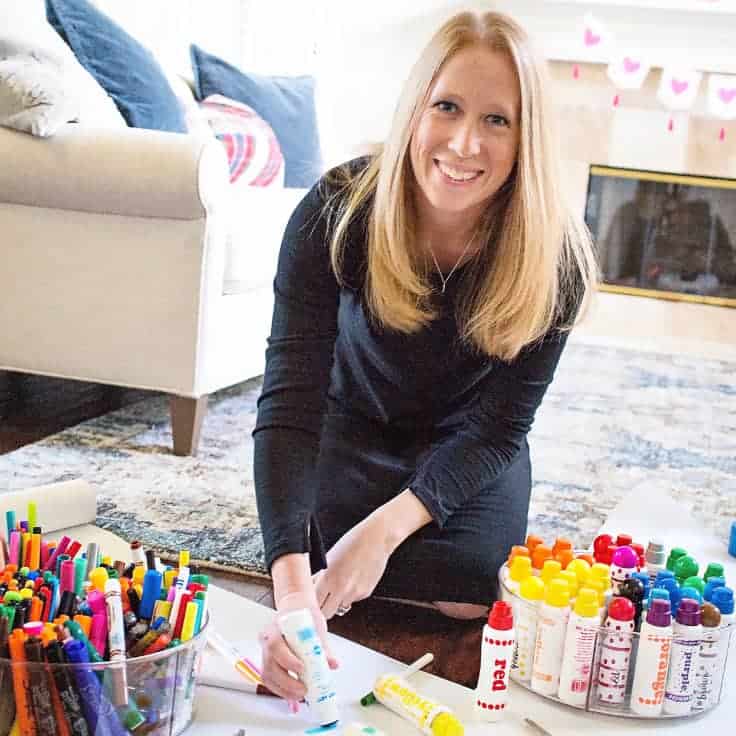
Hi, I’m Kristina!
Welcome to Toddler Approved! I'm Kristina, organizer of chaos, former teacher, and mom of four. My mission is to help busy parents thrive with simple activity plans, easy to set up learning ideas, and useful parenting resources! I believe that connection builds confident kids & happy families and that even little moments should be celebrated.
New to toddler activities? Start here!

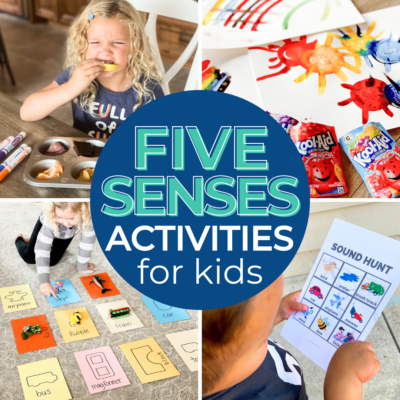
The Best Simple Toddler Activities
What are the best activities for toddlers? You are going to love this list of 75+ amazing toddler…
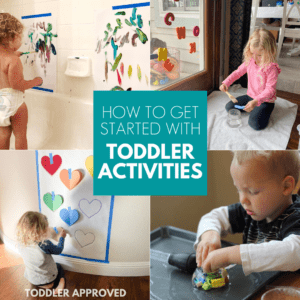
Toddler Activity Start Up Guide
How do I get started doing activities with my toddler? Inside this post I’m going to share…
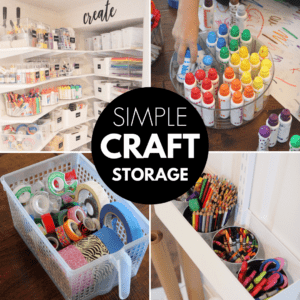
Awesome Kids Craft Storage & Organization Tips
Looking for ways to organize kids arts and craft supplies? Check out these simple kids craft storage…

6 Skills Toddlers Need to Learn
What do toddlers need to learn? Inside this post we’ll share six skills that toddlers need to learn!…